Saturday, November 26, 2011

A Fairy and a Tail (Dinosaur Tail that is)


It may almost be Christmastime, but here are my two little loves on Halloween :-) 

Jack was so cute and he loved his dinosaur costume, especially his tail. He still doesn't really understand/like the idea of costumes though.  He thought people really thought he was a DINOSAUR, a real dinosaur.

He would ROAR as loud as he could, then say, 
"Its just me, Jacky."


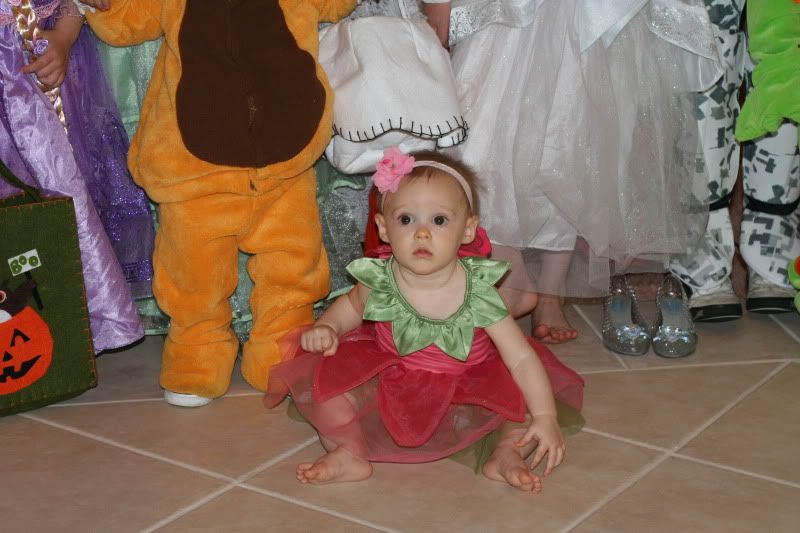
Claire was a "Princess Fairy" according to Jack.  She is just so darling, and now that she is  standing up and cruising all over the place, she is a busy little bee. 
She is such a precious little girl. I feel like she is getting so big, so fast! I love her little feathers that stand straight up! Thats just like my hair was when I was a baby!


We had such a fun Halloween bouncing from one house to the next! We went to Sean's cousins' party first, but I was so bummed because all of my pics were blurry. Darn lense. (certainly it was not due to user error). haha 
And Jack was exhausted, and fell asleep on the way to the party...so I thought it was going to be a disaster of a night.
You can see he was not into taking these pictures. 

Then we went to my see my mom, where most of the pics were blurry again.


From there we met up with my sister and her kids at our Nana's house.  Our cousins were there with their kids too! We actually got a picture with all of the kids looking cute and smiling! Not my camera of course because I had on the wrong lense. Dope.


Jon Jon, Jack, and Jakey

Claire Bear amongst all the big(ger) kids.
Jack & Nicky


We ended up having a really fun Halloween!
xo

Wednesday, November 9, 2011

Mmm D'Licious: Pumpkin Spice Whoopies

I am a big fan of BHG. Aren't you? Well I stumbled across this page of Better Homes and Gardens "41 Yummy Pumpkin Recipes" and I wanted to try them all. I didn't, but I did try this one! They were delicious, but I could only eat 1/2 of a cookie at once. They are very rich! 

Pumpkin Spice Whoopies


Ingredients:
1 cup canned pumpkin
1/3 cup butter, softened
1 box spice cake mix
2 eggs
1/2 cup milk
1 recipe Marshmallow-Spice Filling

Directions:

1.Preheat oven to 375 degree F. Line a cookie sheet with parchment paper 
 In a large mixing bowl beat pumpkin and butter with an electric mixer on medium speed until smooth. 
Add cake mix, eggs, and milk; beat on low speed until combined, and then on medium speed for 1 minute.

2.By the heaping tablespoon, drop mounds of batter 3 inches apart on cookie sheet; keep remaining batter chilled. Bake 15 minutes or until set and lightly browned around edges. Carefully remove from parchment or foil; cool on wire rack. Repeat with remaining batter, lining cooled cookie sheets each time with new parchment. 


Marshmallow-Spice Filling
Ingredients:
1/2 cup softened butter
1 8 ounce package softened cream cheese
2 cups sifted powdered sugar
1/2 7 ounce jar marshmallow cream
1 teaspoon vanilla
1/2 teaspoon ground cinnamon
1/2 teaspoon ground nutmeg

Directions:

Up to 2 hours before serving, beat together butter and cream cheese until smooth. Add powdered sugar, marshmallow cream, vanilla, cinnamon and nutmeg. Beat until well combined.

Spread about 2-1/2 tablespoons filling on flat side of one cookie; top with a second cookie. Repeat. Serve immediately or cover and chill up to 2 hours. Makes 15 whoopies.


Enjoy!

Tuesday, November 8, 2011

DIY: Cupcake or Cookie Stands

Here is one of the other projects I did for Jack's party:

  Cupcake/Cookie Stands 


Materials:

3 Plates [mine were 1 large and 2 salad size plates]
3 Martini glasses
E6000 glue
Spray paint primer & paint

This is so easy, it almost doesn't even need directions, but just in case...here's what I did:

1. Prime glasses
2. Spray paint glasses
3. Glue plates to the bottoms of the glasses
4. The end.


I told you it was easy! And only costs about $9 if you luck out like I did! 

Plates -Target $.89/ea
Glasses- Dollar Tree $ 1.00/ea
Spray paint: $3 [I had the primer already...not sure I really even needed to do that step..but I did. Also I only bought the half can size of black spray paint because I didn't need very much]


Sunday, November 6, 2011

DIY: Party Piñata

A couple weeks ago we celebrated Jack's 3rd birthday! I wanted it to be really special for him, but I didn't want to spend a ton of money on a 3 year olds party. The answer? I did a lot of it myself, and I had fun doing it and planning it! I sort of pretend to creative/crafty, but really I just find ideas I like and either copy them, or figure out a way to do it myself. Sometimes it works. Sometimes, it doesn't.  I thought it would be fun to share some of the little "DIY" things I did for the party. So here is the first one: 

The #3 Piñata. 
[Disclaimer: I didn't use this as the actual candy-filled piñata, so I'm not sure how your would leave a "door" to fill your piñata, or attach something to it to hang it...maybe I'll try that next time]

Materials:

Large cardboard box
Exacto knife
Scissors
Strong masking/packing tape
3 rolls of streamers (or however many colors you want to use)
Mod Podge
Paint brush


Step 1:
Draw your number on your cardboard box [Mine was about 3'x2']
Cut it out using your Exacto or scissors
Trace it onto the other side of your box
Cut out second number

Step 2:
Cut out strips for the sides of your number [about 6" across]

Step 3:
Tape your strips to the bottom number.
If you are planning to use it as an actual piñata, make sure you really use strong tape [mine was just for decoration]
Once you have taped all your sides onto the bottom number, tape the top number onto the sides.

Step 4:
Fringe your streamers. Easiest way to do this is to fold it back and forth to create lots of "layers" to cut at once. [Also, if you have fringe scissors, that would speed things up...I didn't].


Step 5:
Start at the bottom of your number, on the front side, paint a section with Mod Podge and lay your streamer onto it.
Cut Streamer at the edge of the number.
Repeat.
Once you finish the front, turn it over and do the back of the number, again starting from the bottom and layering your streamers.
Then you do the same for the sides. Just make your way around the number.


Ta-Da! Your very own homemade Piñata! Super easy, super cute for a decoration or our actual piñata and the best part...it's super inexpensive. Grand total: $2.61. [unless you have to buy mod podge, then add a couple dollars.]


Monday, October 31, 2011

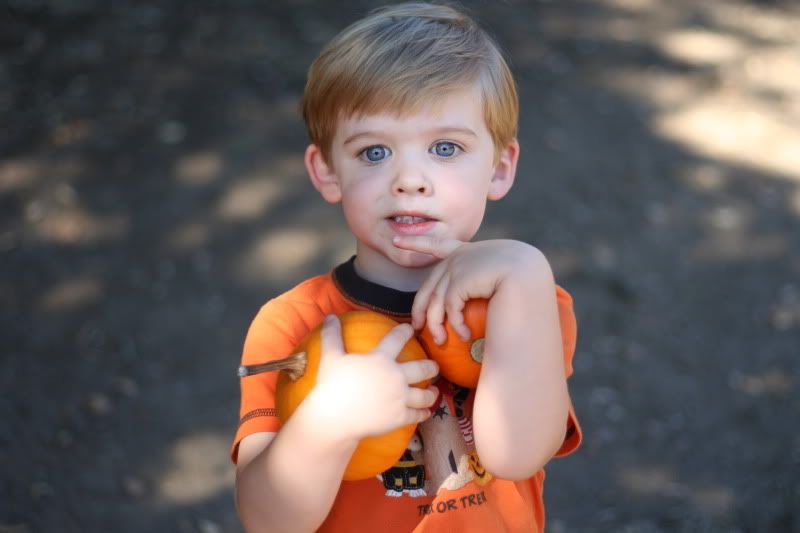
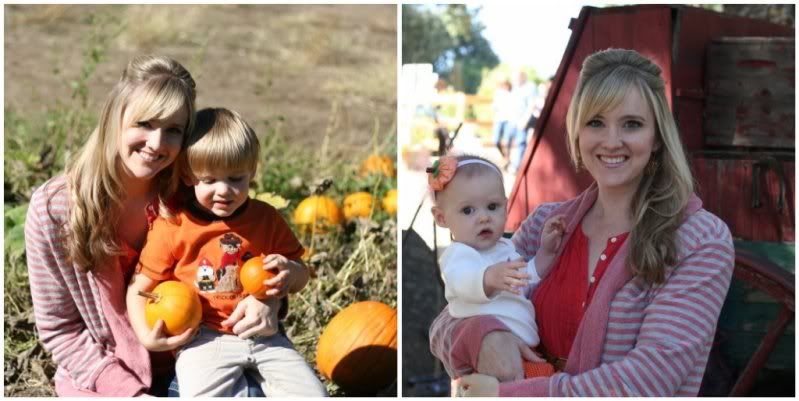
Pumpkin Patch-ing!

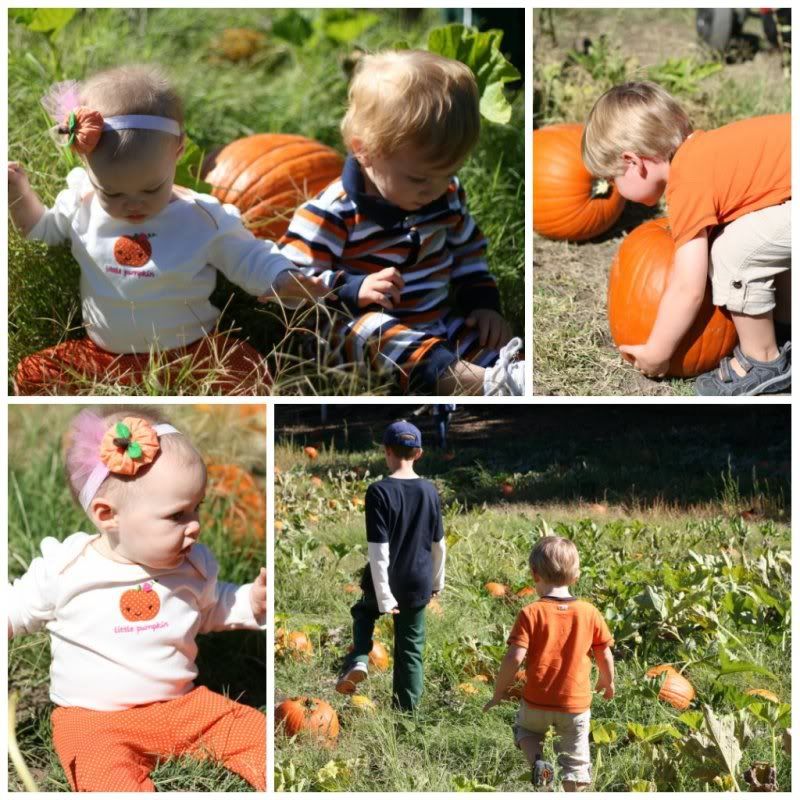
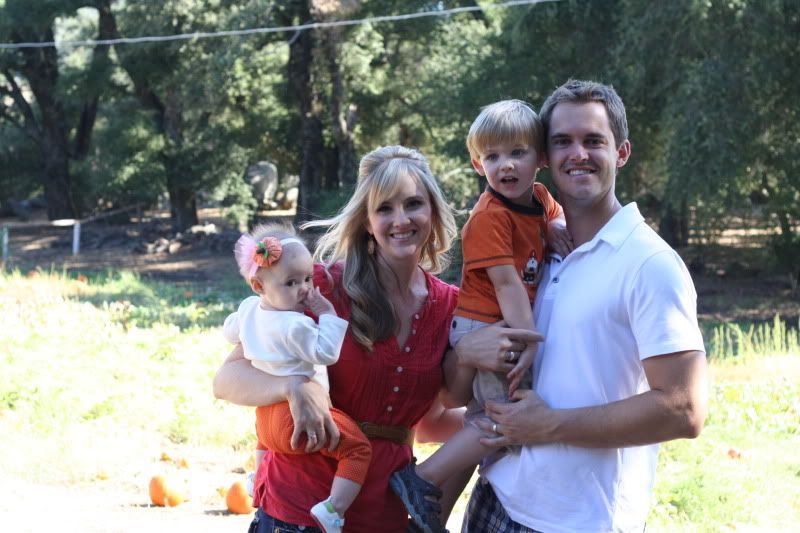
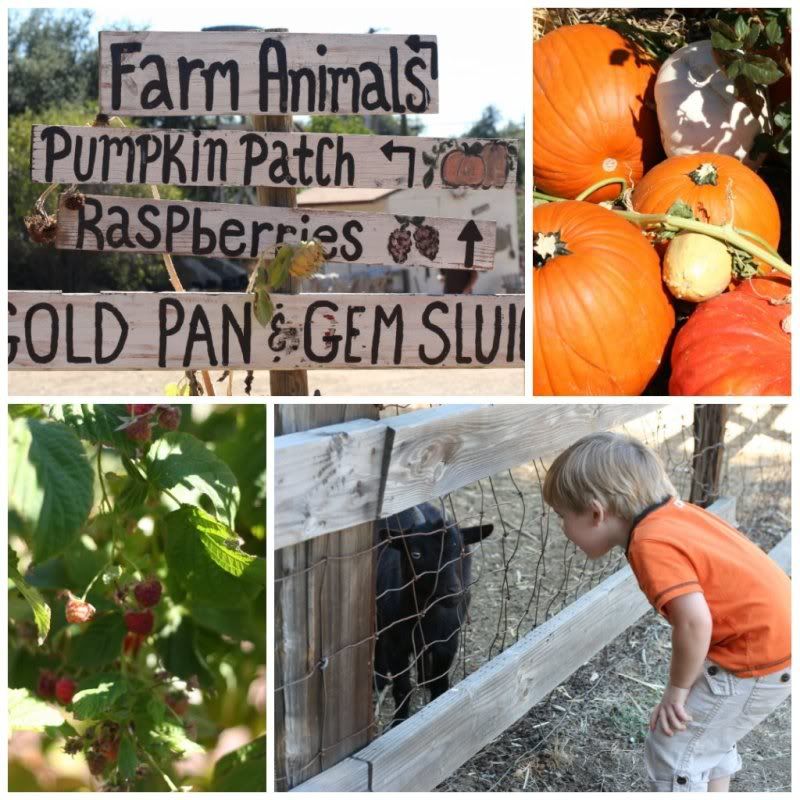
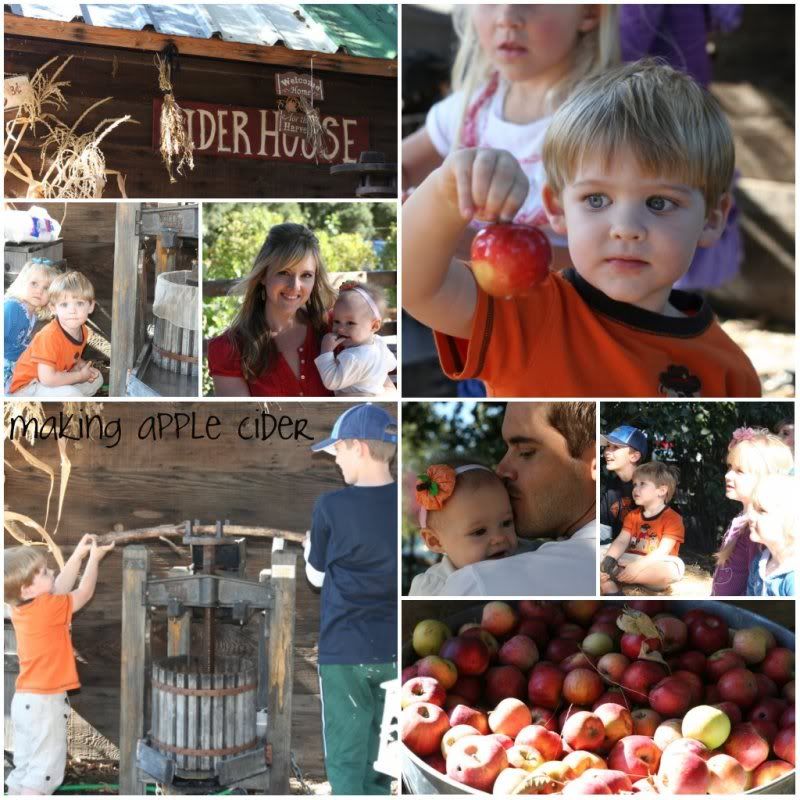
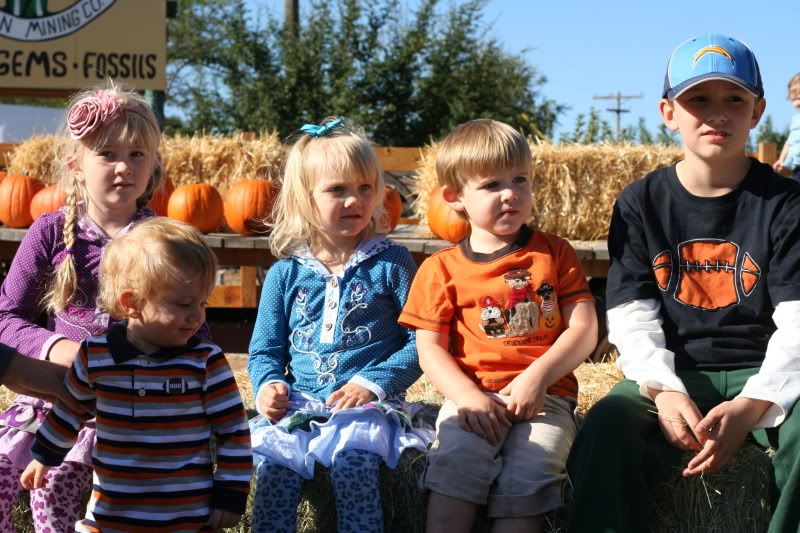
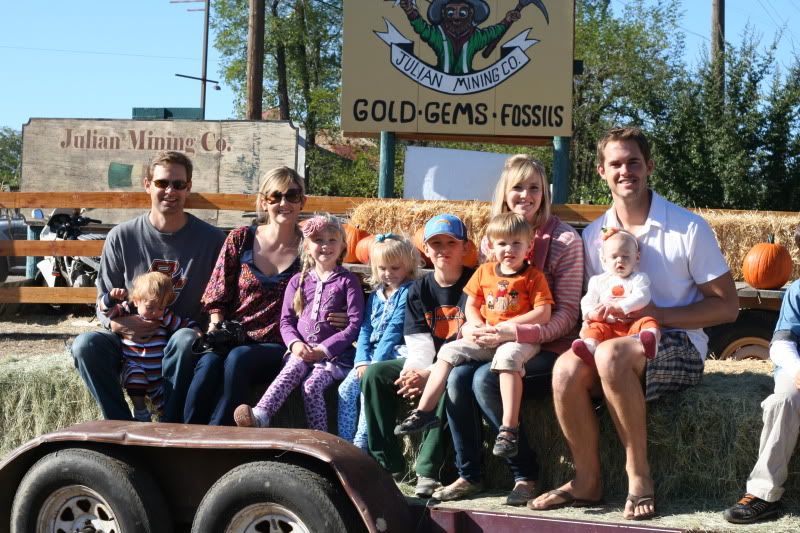
I love fall, and I love pumpkins and pumpkin patches!  This year we wanted to go to a patch where the pumpkins actually grow on ground :-) so we made our way back up to Julian with my sister and brother-in-law and their four kids! We had such a fun day! 
We picked pumpkins, made apple cider, fed the farm animals, made candles, and went on a hay ride! 


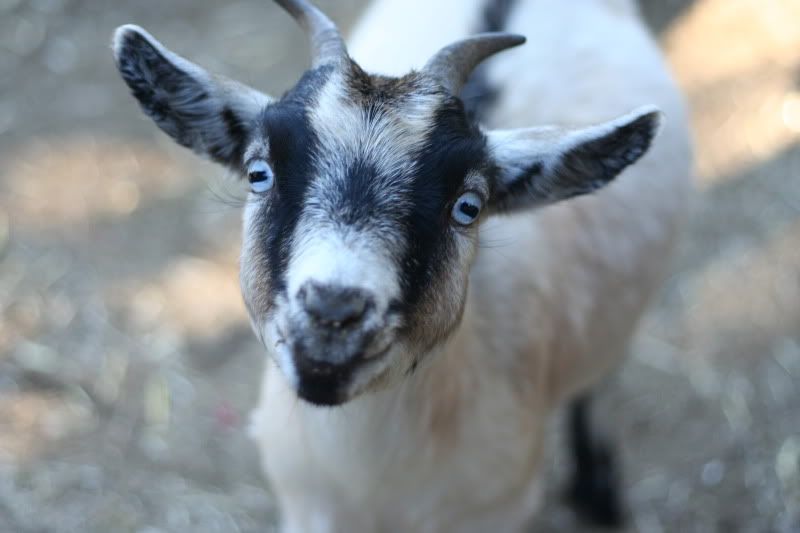
Is it weird that I love this picture? Its cool right? Baaaa.


All that's left to do is carve them! 
Happy Pumpkin Day!


Sunday, October 30, 2011

Three!


Last weekend we celebrated Jack's 3rd Birthday!  It's hard to believe he is already three, and he is definitely not a baby anymore.  In the week leading up to his birthday we were talking about turing three and he said, 
"I'm going to be three, and then I'm going to be a man!"  
Even when he is a man, he'll always be my precious little boy. It never ceases to amaze me how much he knows and how much he is growing and changing every year.  He is incredibly smart and funny, so loving and sweet, and yet still all boy. He already has a heart for the Lord, and loves reading his little Bible every night. I am so blessed to be his mommy and his life has been one of the greatest gifts the Lord has ever given to me.  

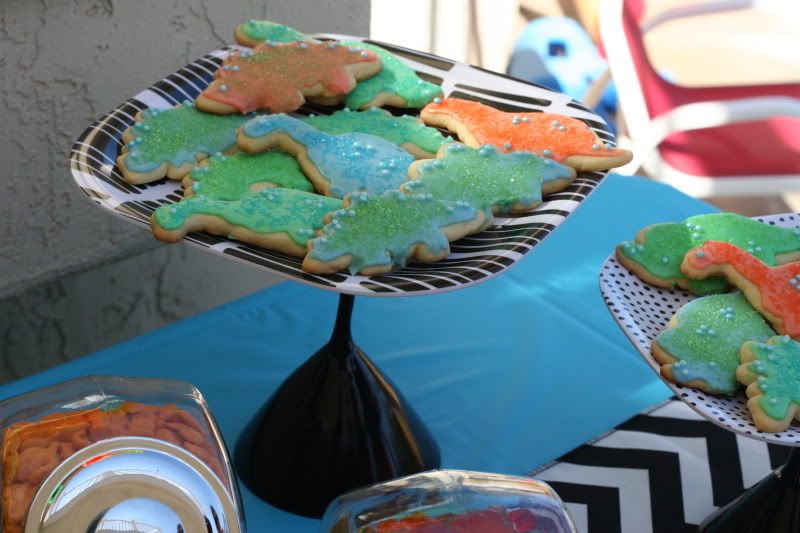
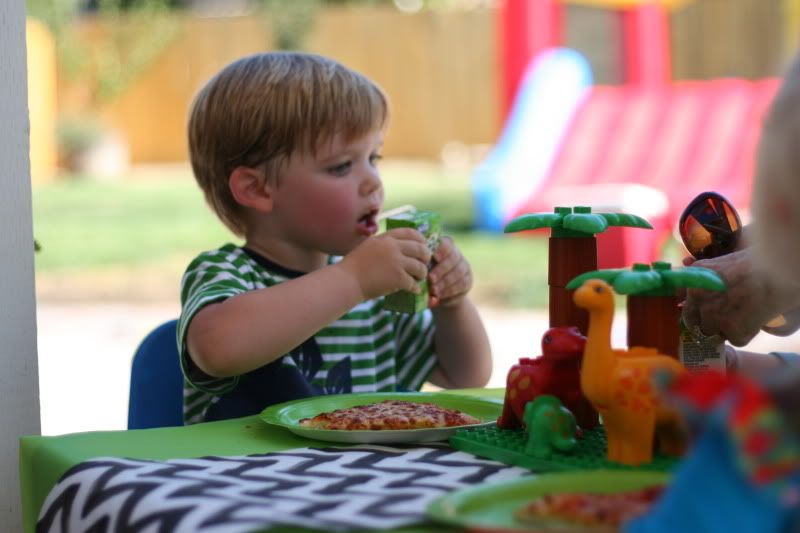
We had so much fun at his Dino-mite Dinosaur party!  He was so cute- when I set up the table he said, "Mommy, it's beautiful!" He loved every minute of it, which of course, made it all worth it!


We had a couple little dinosaur activities for the kids to do. The first one was the "Dino Dig."  We filled a little kiddie pool with sand and buried dinos inside for them to dig for and sift out of the sand.  


His birthday present...the jumpy!
We also had a "Pre-historic Ice Pick" activity where we actually froze dinos in tuperware so each child had their own ice block to chip away at! It was really funny watching them hammer as hard as they could on these blocks of ice! They of course loved it, although, it did take a little longer than we anticipated and some of the mom's helped out a little :-) It was also quite a warm day, so it was fun for them to play with the ice. [Sidenote: Jack is always super hot, and his little cheeks turned so bright red, and he was all sweaty from running around and jumping in the jumpy!]


After the ice picking, we had Jack's favorite food...pizza!


Bretters & Reecey
T-Rex Pinata!


T-Rex was actually a tough cookie to crack! It took a little assistance from Papa :-) Then it was cupcake time! 


He was a happy boy with his cute little chocolate covered face! 
Such a fun day, and such sweet memories!
I love this little boy...so much!
Happy 3rd Birthday Jack Hartley Bradford!

Tuesday, October 11, 2011

Mmm D'Licious: Apple Crisp

There are few things more wonderful than the tastes of fall. Apples, cinnamon, pumpkin, I love them all.  After our apple picking, I knew I would have to make something tasty out of our apples, so I dug up a couple different recipes for Apple Crisp. One was my great grandmothers, and the other was from my aunt.  I sort of combined the two and did what I thought would work best.  The result was *amazing.* I mean, so so good. If you love fall and warm ooey gooey goodness topped with vanilla ice cream...make this...asap.


Ingredients:
7 apples (mine were small, so I used twice that)
1 Tbs cinnamon
1/2 Tbs nutmeg
1 Tbs lemon juice
1/4 C water
3/4 C white sugar
1/2 C brown sugar
1 C flour
1/2 C cold butter
1/2 C quick oats

Directions:

Peel, core and slice apples. If you have one of these nifty little things, its done in a flash!


No he's not wearing lipstick...he had a red lollipop. (I know...bad mom)

Combine apples, cinnamon, nutmeg and lemon juice and stir. 


Combine sugars, flour and oats. Cut butter into flour mixture. 
Place apples in greased pan. I poured a little water in with the apples for a little extra moisture. Sprinkle flour mixture on top.
Bake at 350 for 35 minutes (or until the top is golden brown).
Serve warm, topped with vanilla ice cream :-) 


Enjoy!
Related Posts Plugin for WordPress, Blogger...